How to Propagate a Spider Plant in Water
Increase your plant collection for free with this four-step guide to propagating spider plants.
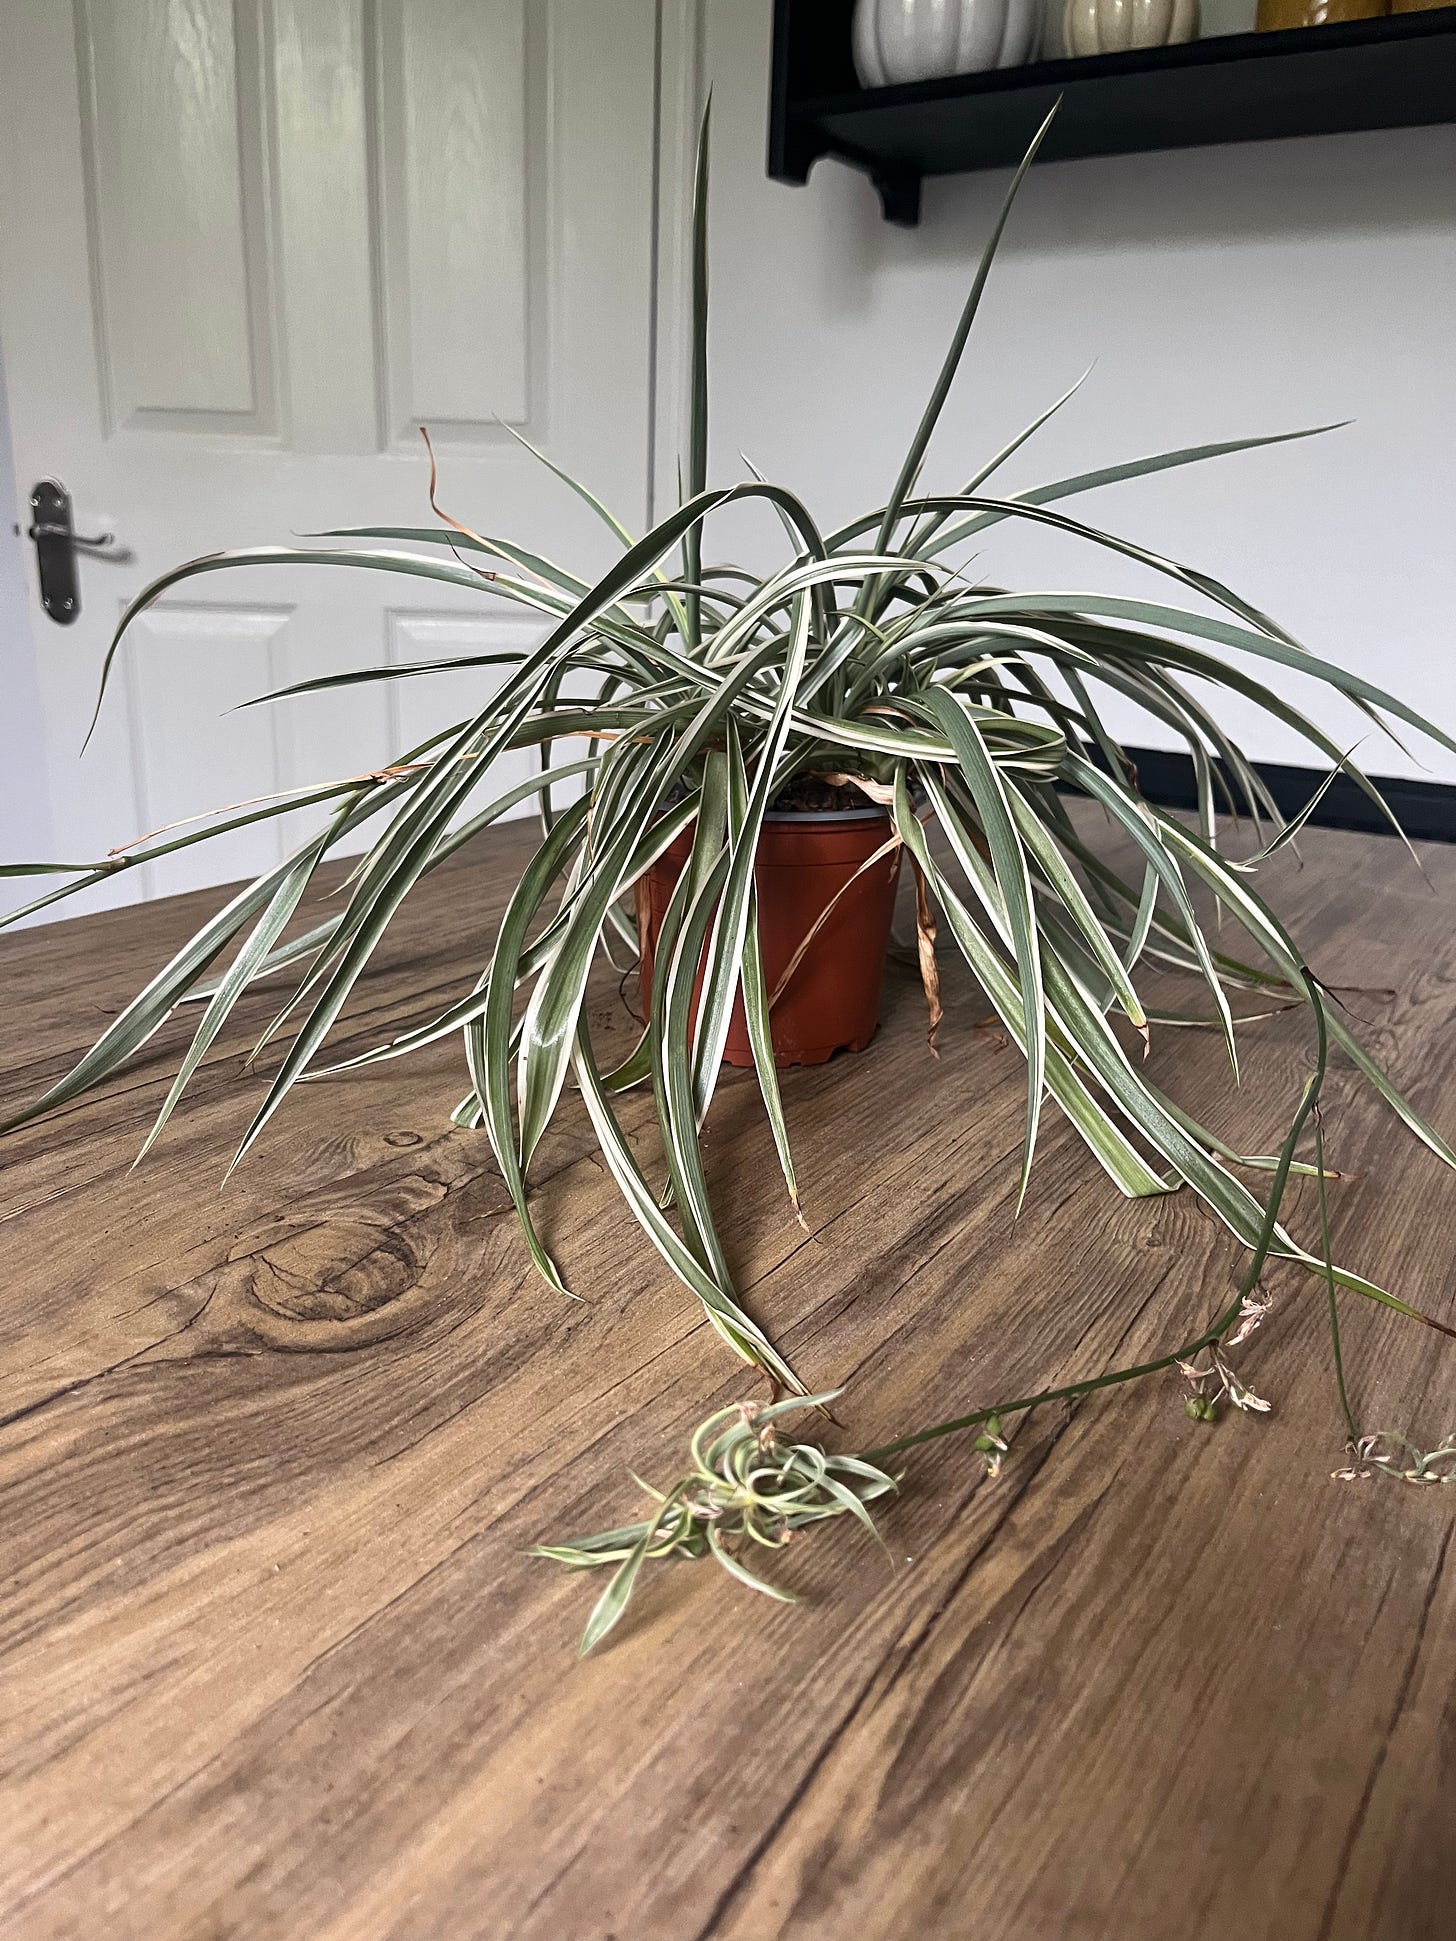
Spider plants are among the most popular and common house plants, largely due to their ease of care. They’re not fussy and can essentially thrive and survive in any environment. Not only are they perfect for novice plant parents who want to brighten up their homes with low-maintenance greenery but they’re also the easiest to propagate….so let’s get started!
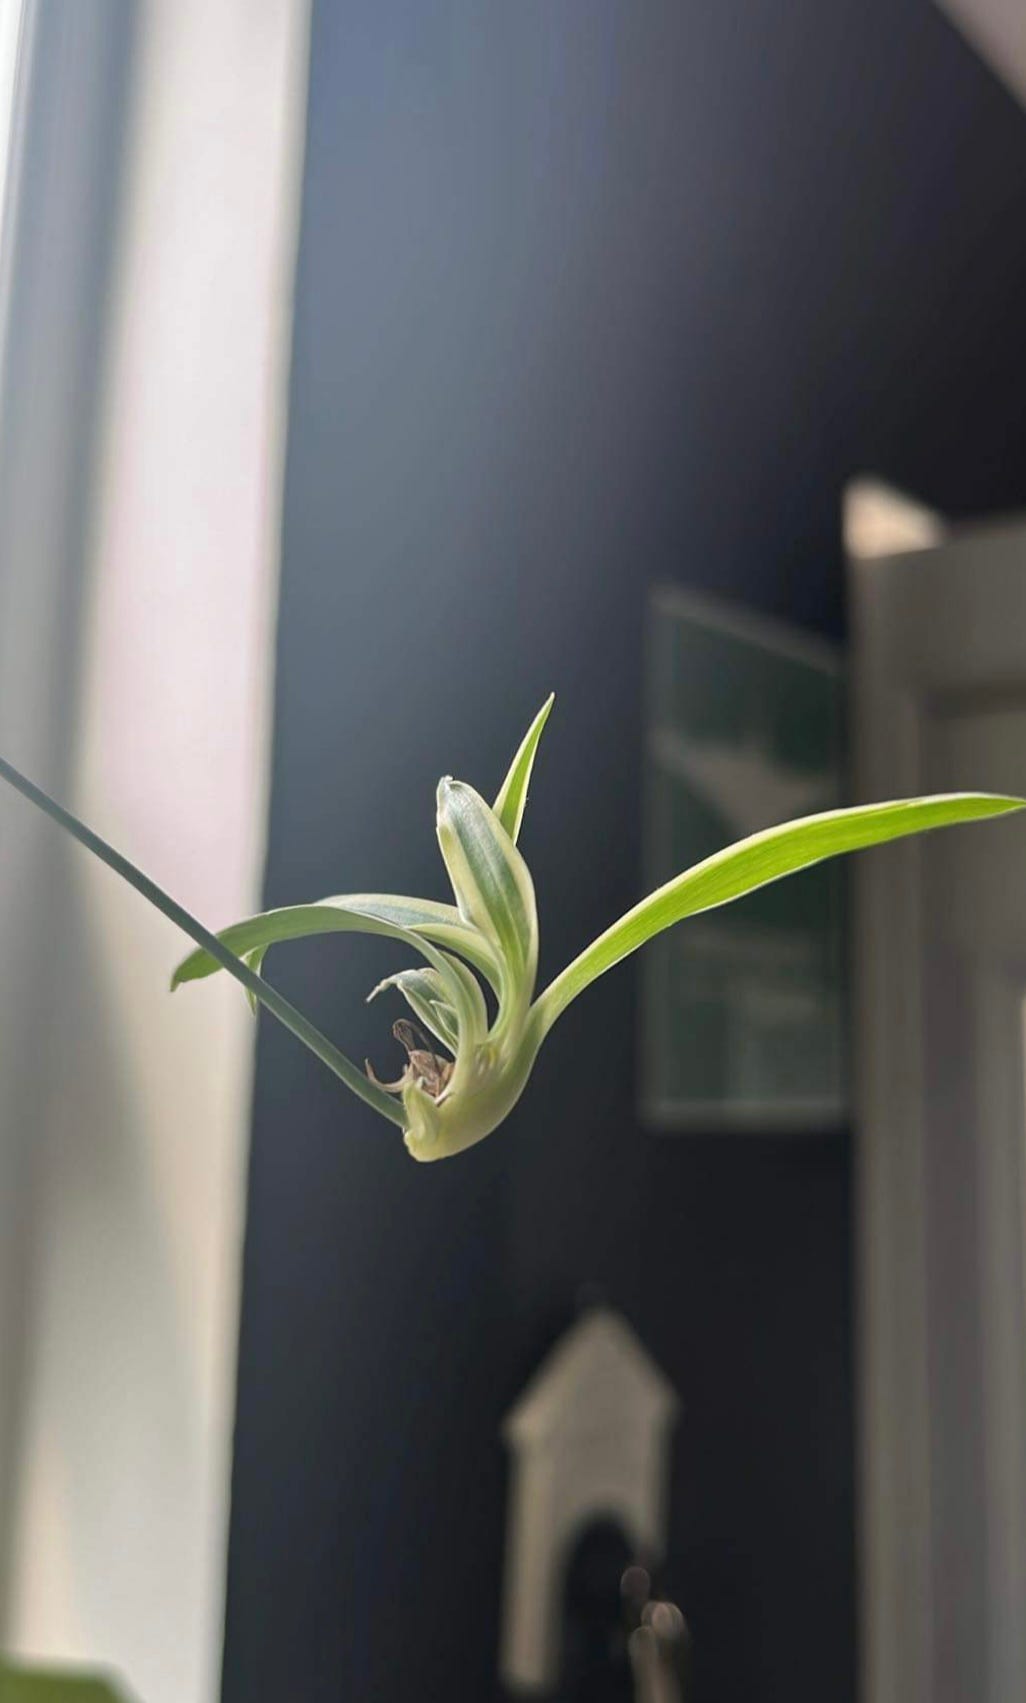
If your spider plant has a few, what some may call 'spiderettes' growing, here's how you can carefully replant them to expand your spider plant collection or gift to a friend.
What you will need:
Clear glass container
Knife or scissors
Standard 4” pot
Peat-free multi-purpose or houseplant compost
Distilled or filtered water (optional but advised)
A little bit of patience
Remove the ‘spiderettes’ from the spider plant
To remove the ‘spiderettes’ from the parent plant, use scissors to carefully snip them off as close to the stem as possible.
Tip: Even if you don't intend to propagate, it's still a good idea to remove some of the 'spiderettes' if many are growing. This helps ensure the parent plant has enough energy to stay healthy.
Place your plantlet in a glass of distilled water
From experience I’ve had better results from propagating in water, this is because I’m extremely impatient and find this way to be quicker as roots begin to form within a couple of weeks. If possible try to propagate in distilled or filtered water, this is because spider plants are sensitive to chemicals that can be found in tap water, which can cause the leaves to turn brown.
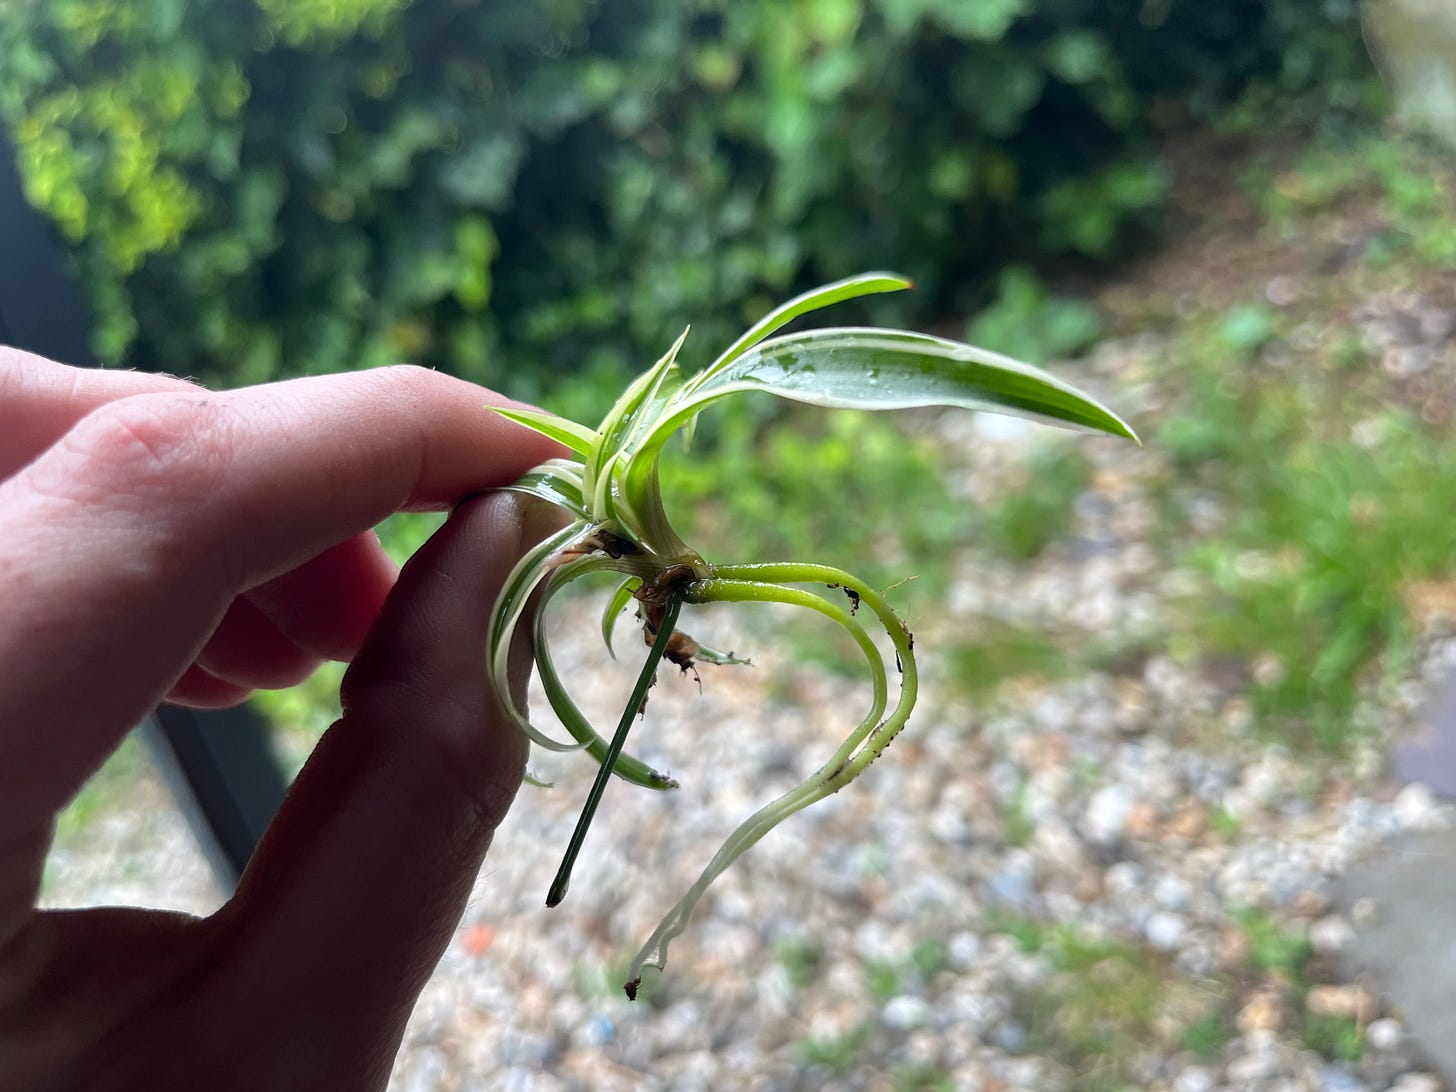
Wait for the roots to grow
Once your plantlet is set to propagate in water, wait for the roots to grow to a decent length before planting in soil. As mentioned earlier, this process doesn’t take long, and you can start to see results within two weeks. I chose to wait a little longer to move to soil and left the ‘spiderette’ to propagate in water for four weeks.
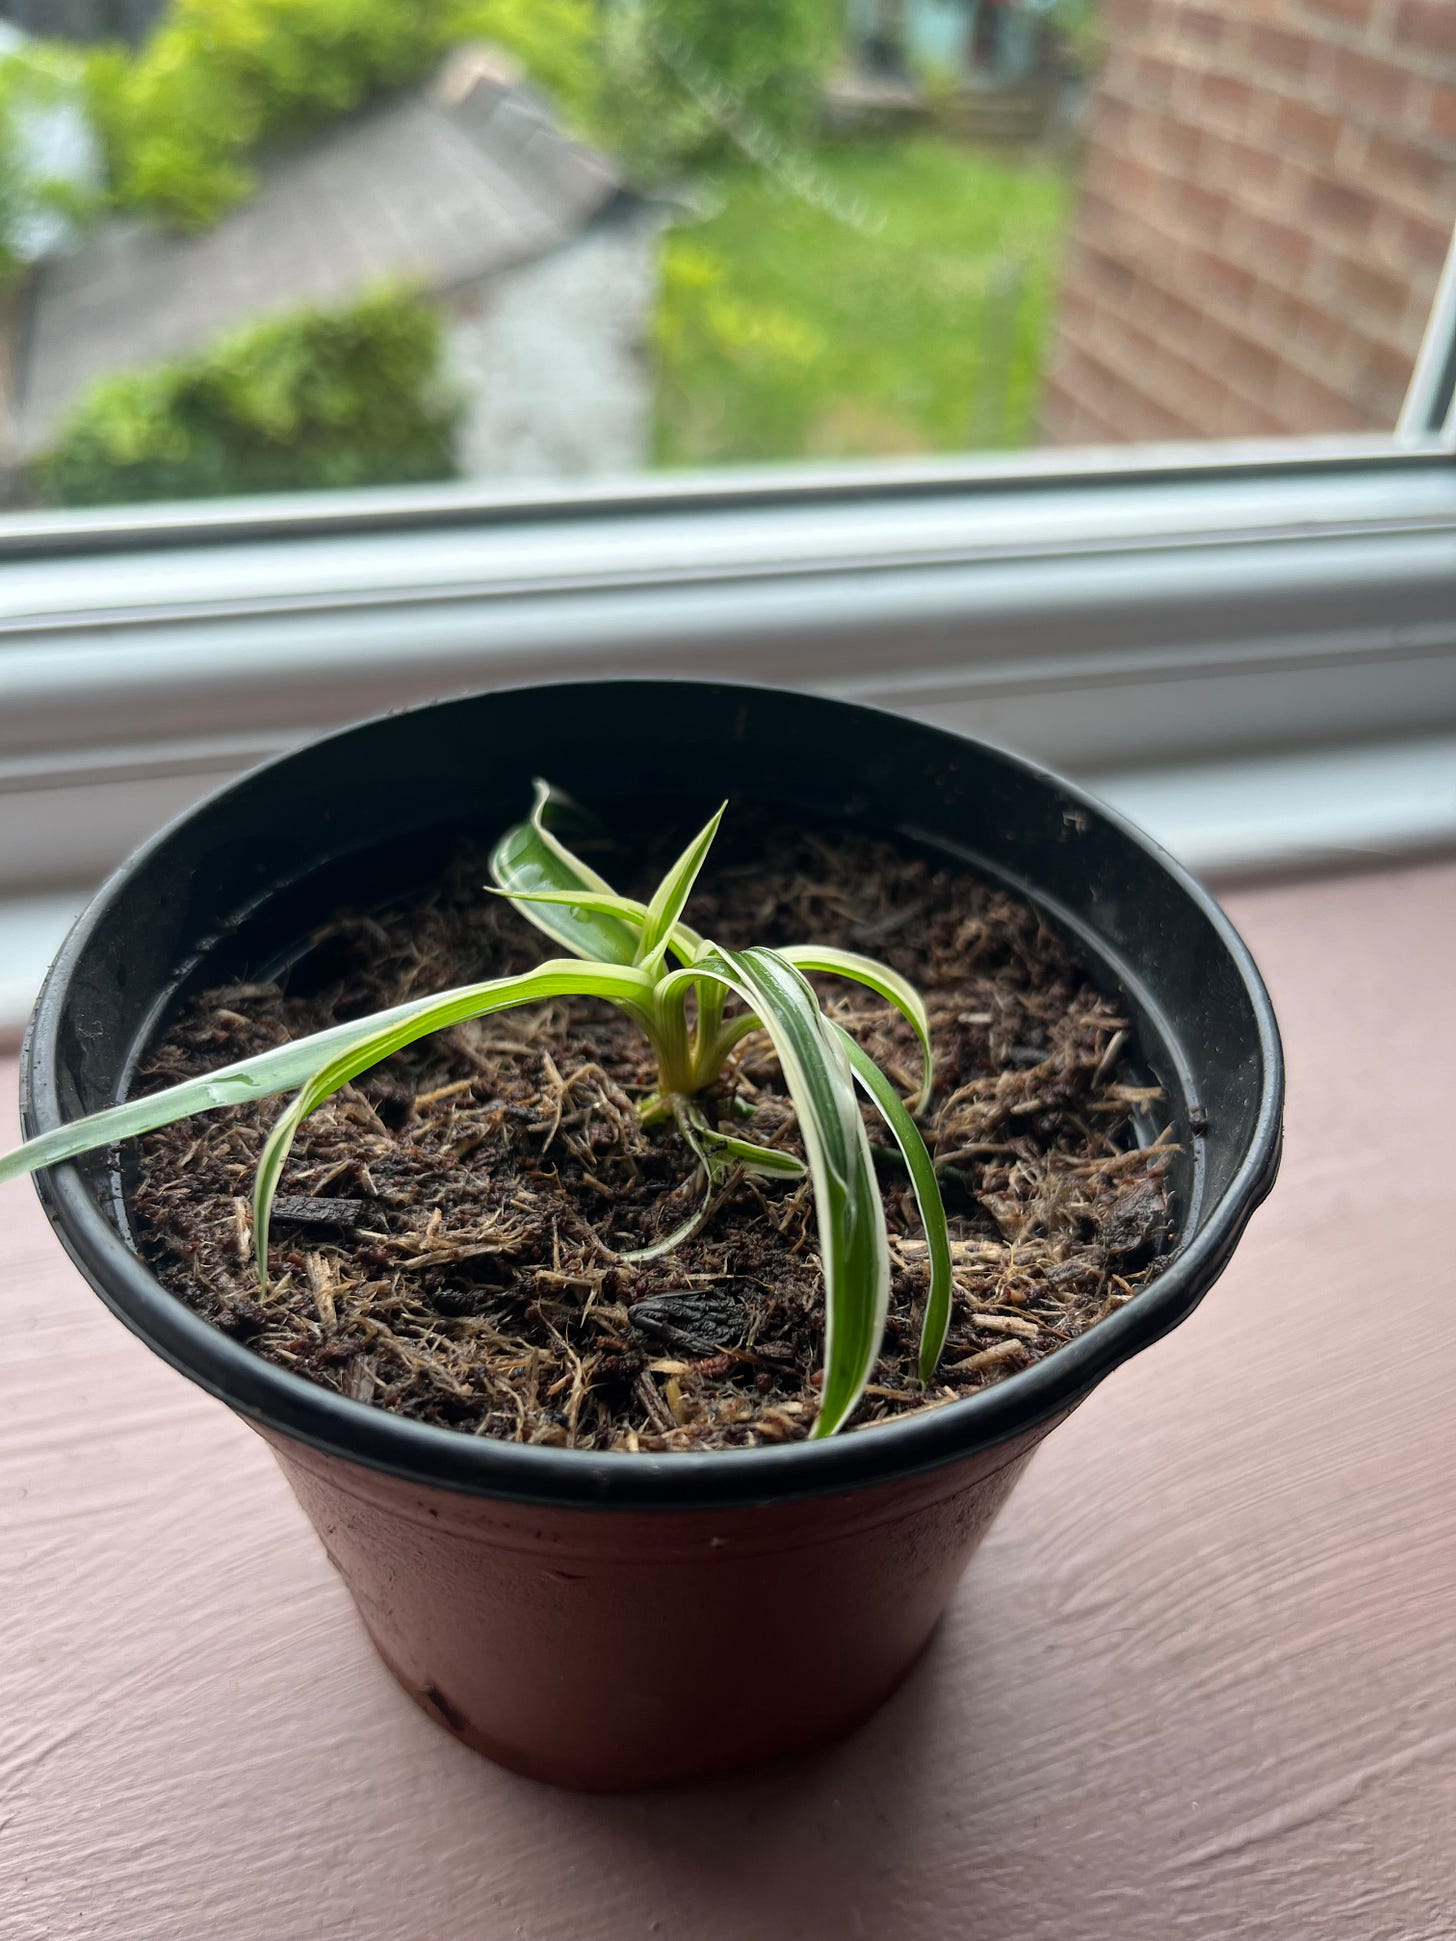
Pot your new baby spider plant into the soil.
Once the roots have grown to a decent length, the plantlet is then ready to be moved into a pot with multi-purpose or house plant compost. Allow your spider plant to get more established by placing the plantlet in a sunny and humid area of your home.
And there you have it! With just a few simple steps, you can easily propagate your spider plant and grow your collection. Whether you're keeping your new plantlet for yourself or gifting it to a friend, you'll have a thriving, low-maintenance green addition in no time. Happy planting!


Brilliant read. I can never seem to get my cuttings (of other plants) to root so I'll try this. Thanks for sharing 😊